
When I was in school I carried several notebooks with me. I kept track of everything in them: class notes, assignments, project research, bits of random information, and even doodles. In our digital world, keeping track of information is much easier than the old days, with the added benefit of being able to easily find and share things as well as having access on all our devices. In this post I cover more ways to keep records and store information.
Your Digital Notebook
In my last post (here), I covered creating PDFs and saving them in the Files app. In this post you’ll use the Notes app, which has become a very capable digital notebook that is great at keeping track of, and searching for, many types of information.
While I’m sure you can think of many uses for a digital notebook, here are few ideas:
- Home: appliance model numbers, furnace filter size, breaker box info, links to product manuals, and more.
- Technology: printer model number and ink cartridge type, Wi-Fi information, computer model & serial number.
- Health: notes from your last doctor visit, medication information, and questions for your doctor during your next check-up.
- To Read, To Watch, etc.: Lists of books you’d like to read, movies & TV series you’d like to watch, wine you’d like to try, and restaurant recommendations from friends.
- Meetings and phone calls: notes and follow-up actions you take during meetings and phone calls.
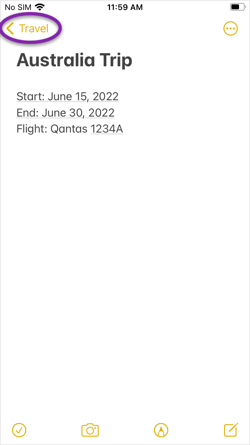
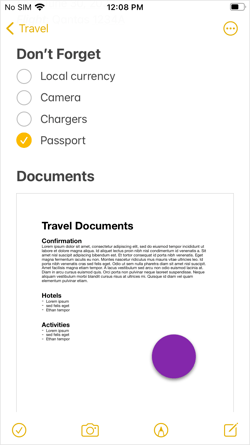
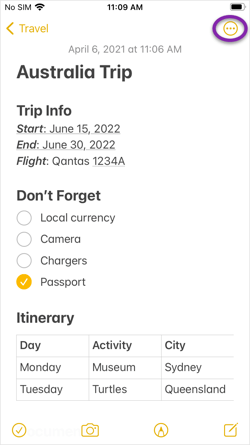
- Travel: itinerary, contact information, flight numbers and times, reservations, attractions, etc.
There really is no limit to the types of things you can keep track of!
Set Up
For the best experience, I suggest you store your notes in iCloud, as that will safely back up your notes and make them available across your devices. You can also choose to store notes only on your device. You will need to use one of these options to use all the features available in the Notes app.
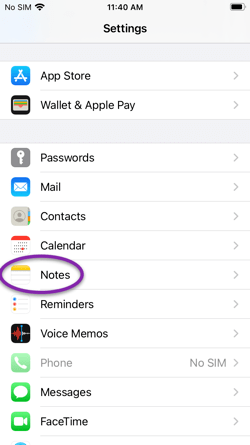
To set where new notes are stored, go to Settings, then tap Notes:

To use iCloud, ensure that Default Account is set to iCloud. If it’s not, tap and select iCloud from the list.
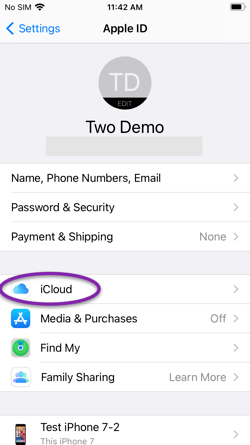
If iCloud is not in the Default Account list, tap the back-arrow at the top-left to go back to the main Settings list, tap your name at the top of the list, tap iCloud, and then ensure Notes is turned on.


To store new notes only on your device, ensure that On My iPhone/iPad Account is turned on, and then tap Default Account and choose that account.
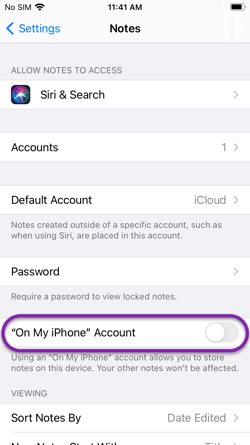
Note: if you choose iCloud, your notes are also stored on your device, so they will be available even if you don’t have Internet access.
Mac
To change these settings on your Mac, start Notes, then choose Preferences from the Notes menu in the upper left of the screen, and set Default Account from there.
The Basics
We’ll start with some basics and then move on to some more interesting aspects of the Notes app. Start the Notes app:

If you’ve never used Notes before, you’ll see an information screen describing some features. Tap Continue when you’re ready.
If you’ve uninstalled the Notes app, you can reinstall it from the App Store by tapping here.
Note: I’m using the iPhone for this post, but the iPad and Mac have the same options, though the buttons might be in a different location.
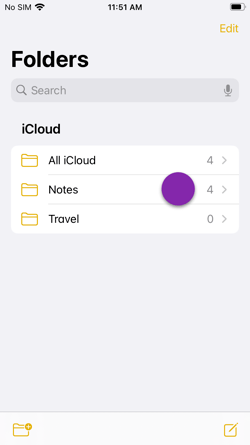
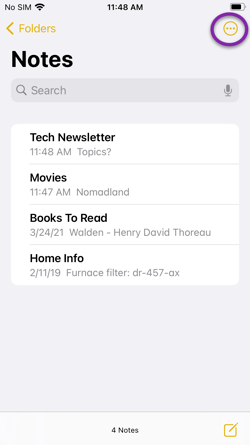
Folders List
The Folders List shows you the folders that contain your notes. If you’re not at the Folders List, tap on the back arrow at the top of the screen, and continue to do so until you get there:

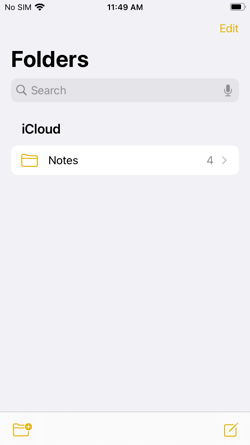
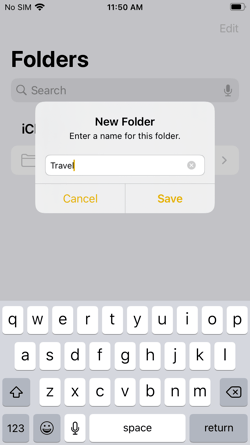
You’ll see a single folder called Notes unless you’ve already created other folders. If you’d like to organize your notes into folders, tap the New Folder button at the bottom left of the Folders List. If not, just use the default Notes folder already listed here.


If you create folders, you’ll also see a folder called either All iCloud or All on My iPhone/iPad. This special folder lists all the notes from all the folders for that particular account.
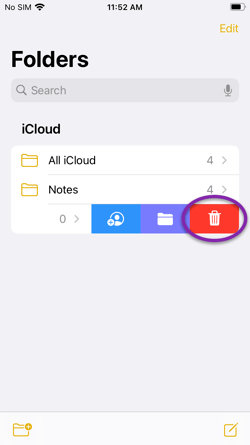
Remove A Folder
To delete a folder that you’ve created, Swipe Left on the folder and tap the Delete button:

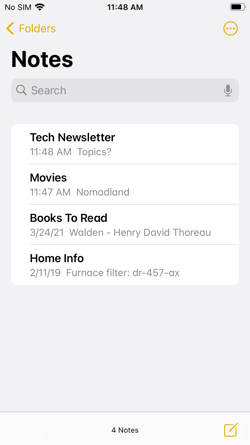
Notes List
To see the notes inside a folder, tap the folder:
You can change the sort order for the Notes List by tapping the Menu button at the top-right and tapping Sort Notes By then choosing the option you want.

Note: you can change the default sort order in Settings -> Notes, then setting Sort Notes By.
From the same menu, you can also rename the folder, select multiple notes to move or delete, share the folder with others (covered below), and more.
Create A Note
Create a new note by tapping the New Note button at the bottom-right of the screen from either the Folder List or the Notes List for a specific folder.


If you create a new note from the Folder List, it will be added to the Notes folder. If you create a new note from the Notes List, it will be created in that folder.
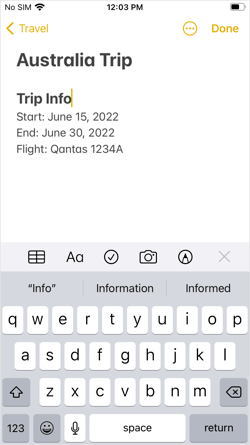
The first line of a note becomes its Title, which is what you’ll see in the Notes List.

Add some text under the title and tap Done when you’ve finished:

Tap the Back Arrow in the upper left to return to the Notes List. Notice that your new note is listed, along with the date or time it was last edited as well as the first line of the note.
Style
You can add formatting to the text in your notes to specify headings, lists, and more.
To add a style to new text you are about to type, tap the Format button above the keyboard:
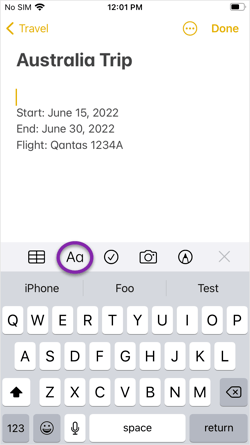
From the list choose the style, or combination of styles, you’d like to apply. There are options for headings, bold, italics, lists, and indentation.
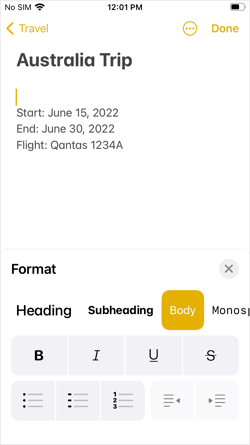
When you’ve finished, tap the Close button in the upper right and type your formatted text.
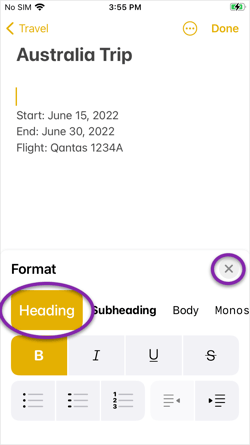
To change the style of existing text, first select the text you’d like to change by double tapping on it and making the selection using the handles, then tap the Format button and choose the style(s).


Note: heading styles apply to the entire paragraph rather than just selected text.
Checklists
To create a list that allows you to check off items as they are finished, tap the Checklist button above the keyboard:

As you add items, they will have an empty circle to their left. Each time you tap return a new line is created with a circle. To stop adding items to the list, tap return without adding any text on a line.
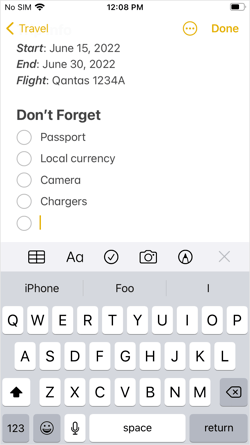
To mark an item compete, simply tap on the circle. To mark an already complete item as not complete, tap the circle again.

Note: the first time you complete an item, you’ll be asked if you’d like completed items automatically moved to the bottom of your list. You can change this later in Settings -> Notes -> Sort Checked Items.
Photos and Scanning
To add a photo or scan a document into to your note, tap the Photo button:
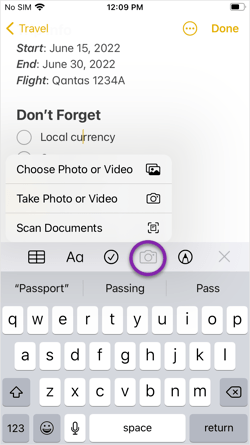
Once you’ve added a photo or document, tap on it to view a larger version. To share it use the Share button:

You can also mark up the image by drawing on it with your finger or an Apple Pencil. I’ll cover Mark Up in more detail in a future post.
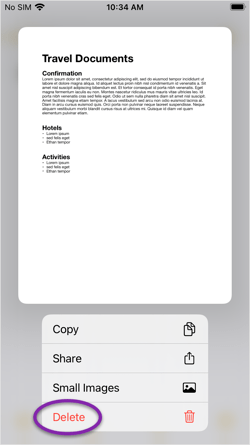
To delete a photo or document that you’ve added, Tap and Hold on it, then choose Delete from the menu.
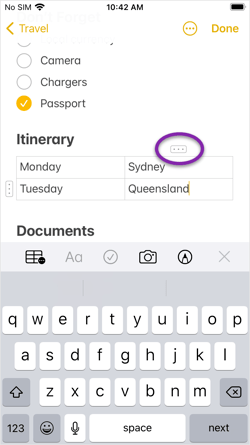
Tables
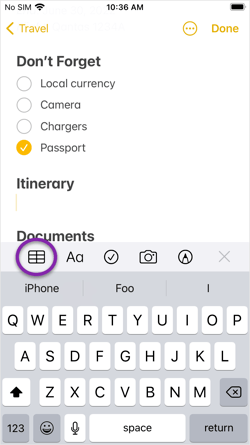
To create a bit more structure for part of your note, add a table, which allows you to create columns and rows. Tap the Table button, which will insert a simple table with two columns and two rows:
Type into each cell to add text. As you type, the keyboard shows a next button that moves you to the next cell. When you’re in the last cell in the last row, tapping next adds another row so you can keep adding more text.

To add or remove rows or columns, tap into a cell in the column/row you wish to change, then tap the Edit button and choose the option:
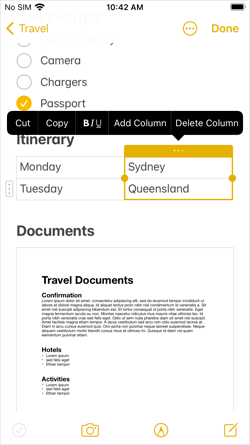

To rearrange rows or columns, tap the Edit button, which will highlight the row or column. Now, Tap and Hold the edit button and drag the row or column to its new location.

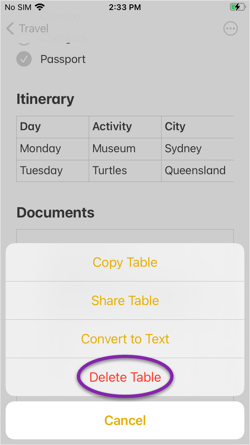
To remove a table, tap anywhere inside the table then tap the Table button above the keyboard and choose Delete Table:

More
If you have an iPad and an Apple Pencil, the Notes app allows you to add handwritten notes and drawings. It even recognizes your handwriting and allows you to search for it later. I’ll have a more in-depth look at how to use the Apple Pencil to do this and more in an upcoming post.
Adding Information
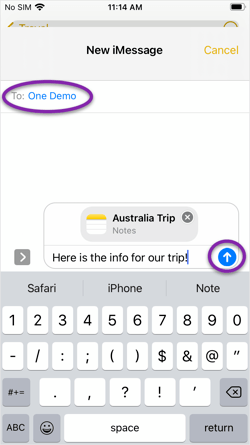
Not only can you type into a note, but you can also add information directly from other apps. This is especially useful when you’re planning a trip, working on a project, or any time that you’re gathering information from different sources.
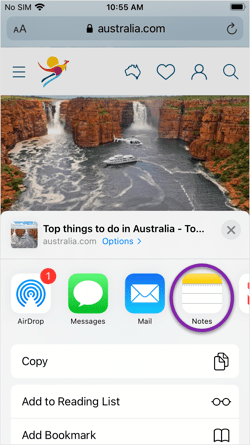
The process to send information to a note is the same no matter where you start: you use the Share Sheet. For example, to add a link to a web page you’re viewing in Safari, tap Share and then select Notes:

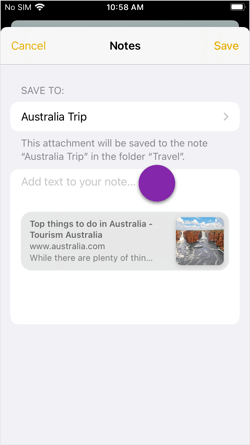
From here, you can add the link to a new note or to an existing note. By default, new notes will be saved in the Notes folder.
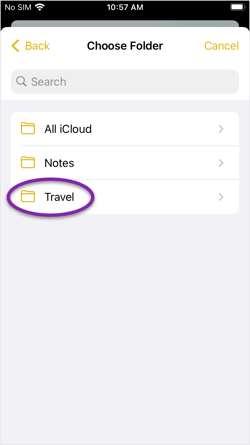
To choose an existing note, under Save To tap New Note, then find the note and tap it:


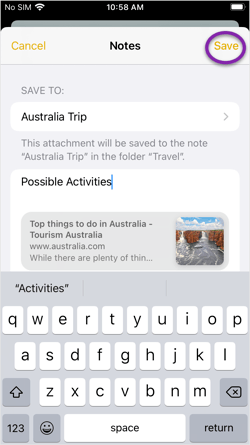
To add some text along with the link, tap in the note and type. When you’re finished, tap Save in the upper-right:
Types of Information
The Notes app allows many types of information to be added including locations from the Maps app, files, pictures, and more. Tap the Share button from any app and if Notes appears in the list, you can follow the same steps to add the information.
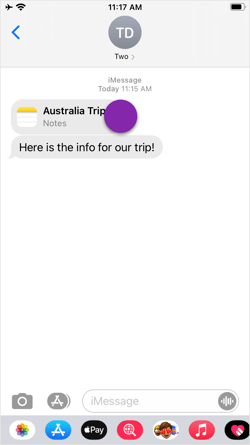
Adding People
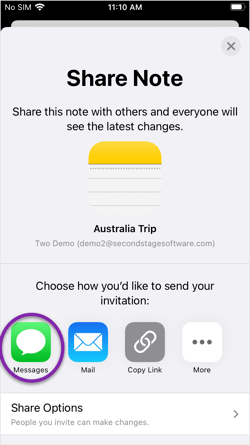
Add people to a note, or a folder, so that you can easily collaborate. Everyone you’ve added gets all the updates to the note, or the notes in a shared folder.
To add people, tap the folder or note you’d like to share, tap the Menu button in the upper right, and then tap Share Note or Share Folder:


By default, the people you add will be able to edit the note. If you’d like to only allow them to view it, tap Share Options at the bottom of the screen and then choose View Only and tap the back-arrow at the top-left.
Next, choose how you’d like to send the invitation:
Add the recipients and any additional text, then send:
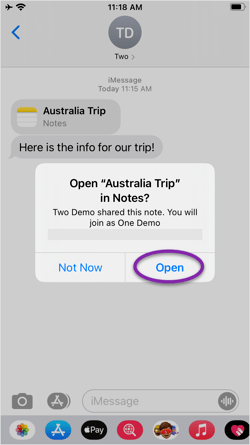
The people you’ve invited will receive a link to your shared note or folder. Once they tap it, it is added to their Notes app and automatically updated when changes are made.
To add or remove people later, go back to the Menu button, and choose Manage Shared Note or Managed Shared Folder.
Note: the people you invite to a note must have an AppleID. If they don’t, they’ll be prompted to create one when they tap the link.
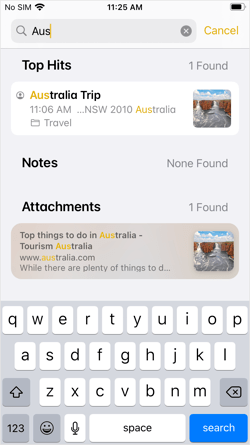
Searching
It’s easy to find the things you’ve added to the Notes app. To search through all your notes, use the search field at the top of the Folder List or the Notes List and tap on the note or attachment in the found list:
To search inside a specific note, open the note, tap the Menu button and choose Find in Note:
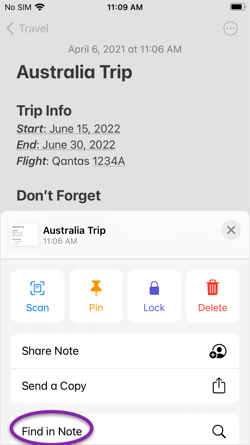
As you type in the search box, any text that matches will be highlighted. If there is more than one match, use the arrows at the left of the search box to jump forward and back through them.

Wrap Up
The Notes app is a great way to keep track of all sorts of information. It’s versatile, easy to use, searchable, and best of all, included free with your Apple devices. While I’ve covered quite a bit in this post, there is a lot more the Notes app can do that I’ll cover in future posts.
I hope this post helps you easily keep track of the information you’d like to have at your fingertips and the bits and pieces you come across that you’d like to remember.
Cover photo by Eugene Chystiakov on Unsplash


Thanks Rob. Very interesting. I set up new folders on my phone and shared one with Greg.
LikeLiked by 1 person
That’s great! I’m so glad the post was useful. We use shared notes all the time for trips!
LikeLike
Good comments Rob. I use notes quite extensively. I’m trying to get Mickey to use more of it. Right now she just looks at me and says “Remember to remind me of this”. Like I am a personal secretary or something.
LikeLiked by 1 person